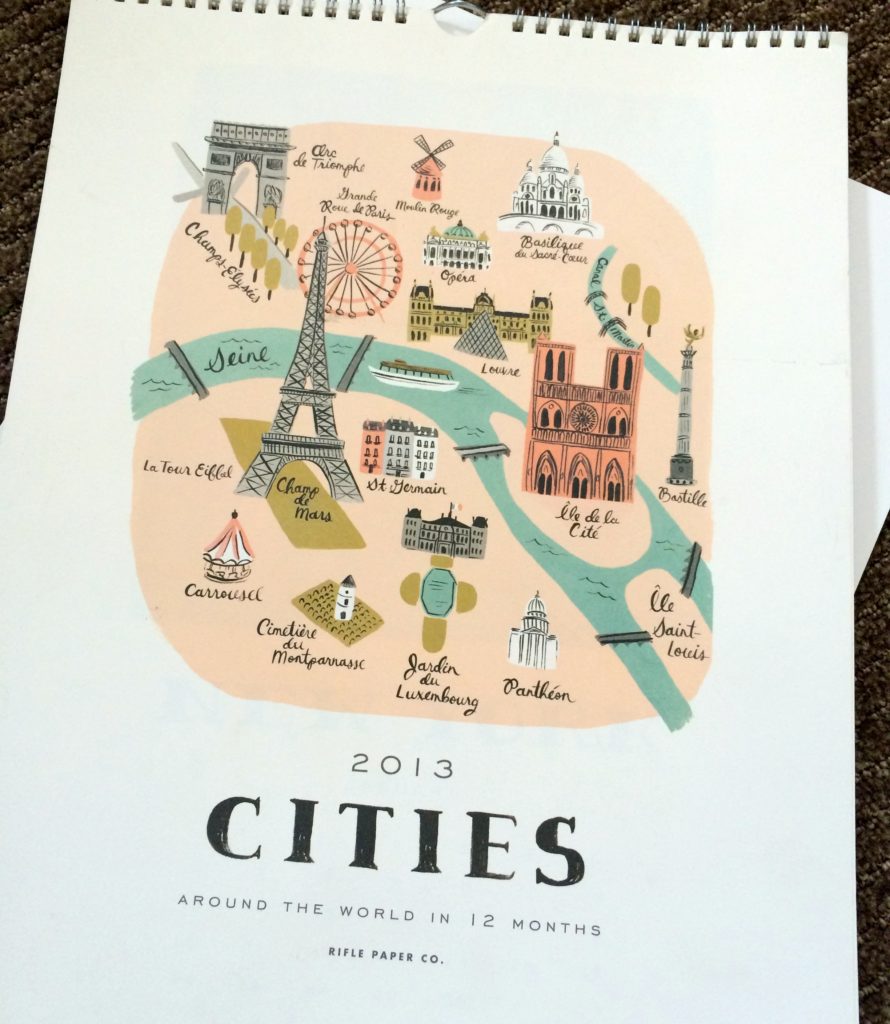
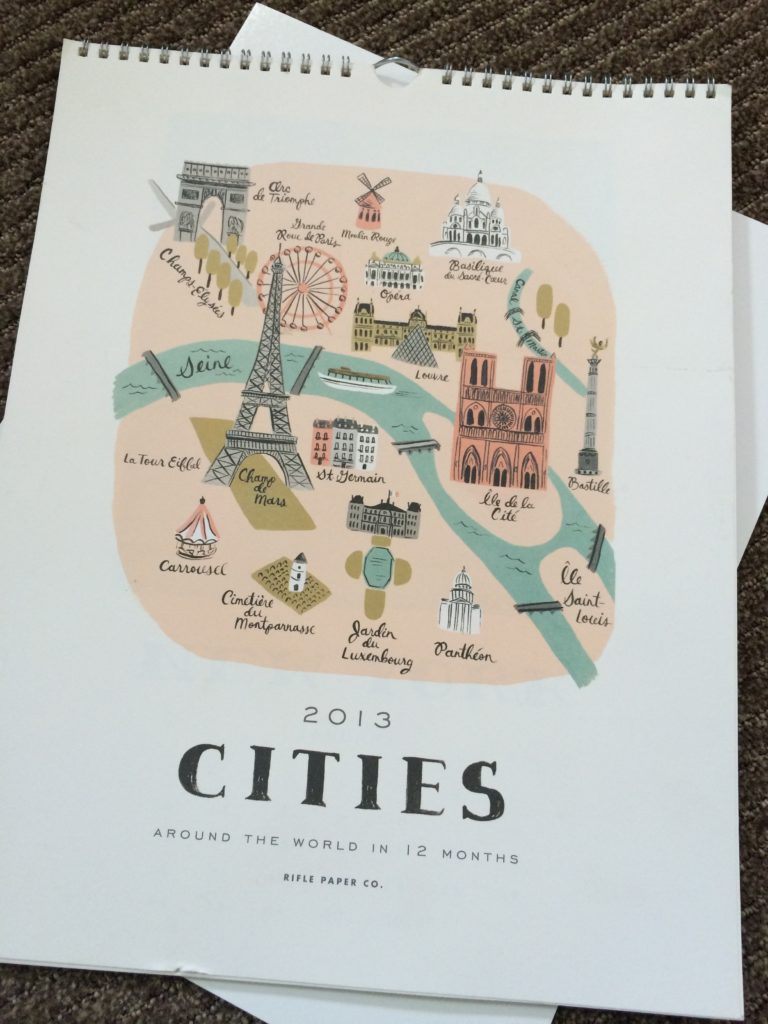
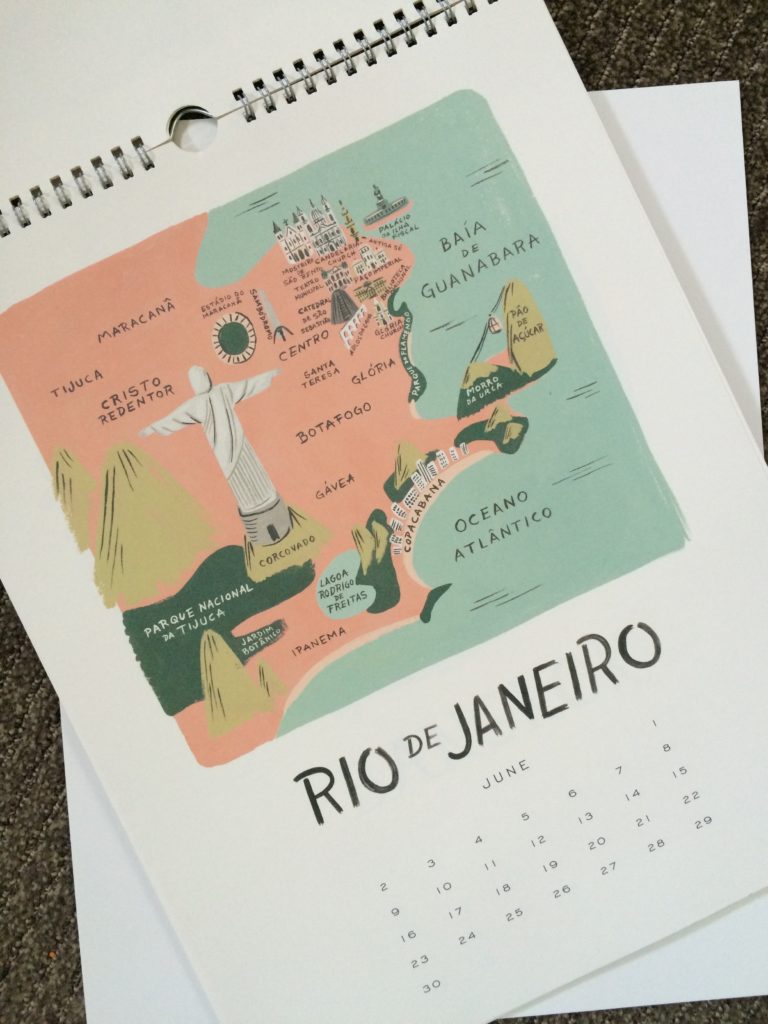
When it comes to decorating, if I can save a buck by doing it myself, then I will. So, as I was arranging furniture in our new home, I new I wanted to make the blank space above the couch a gallery wall. With that in mind, I knew the super fun 2013 Rifle Paper Co. calendar (that I have been holding on to for just the right creative purpose) would be the perfect art work to hang in our living room! When it comes to products like this with pretty images I usually always hold on to them for the very reason that I can turn it into artwork for another time.
I started with this…
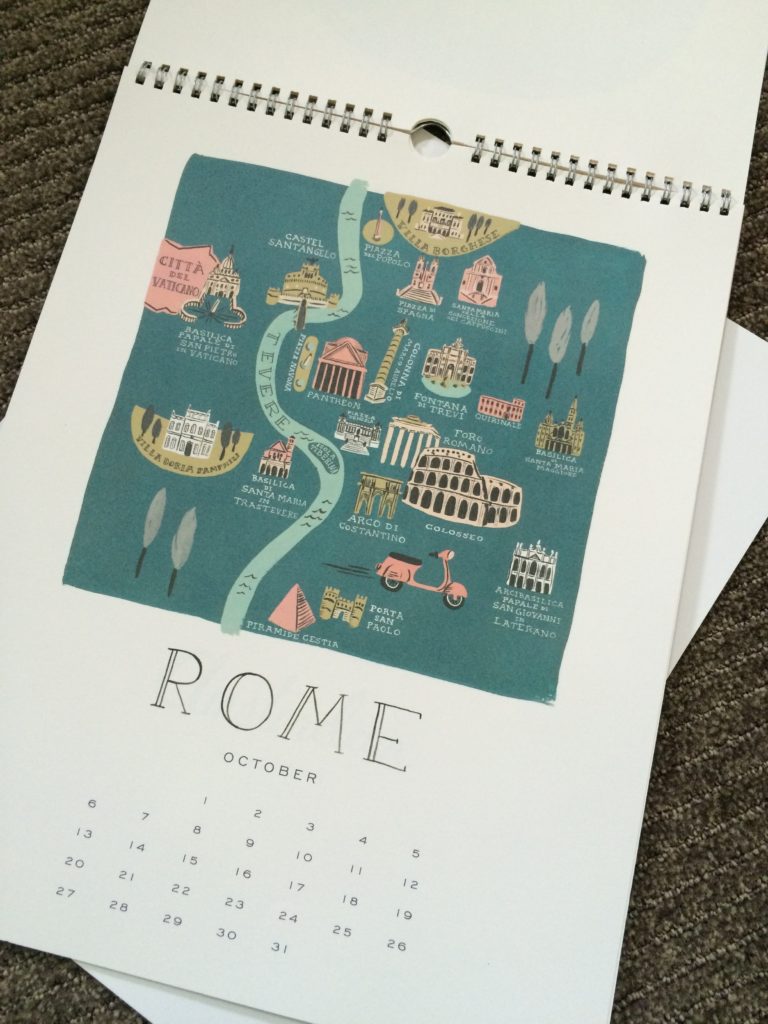
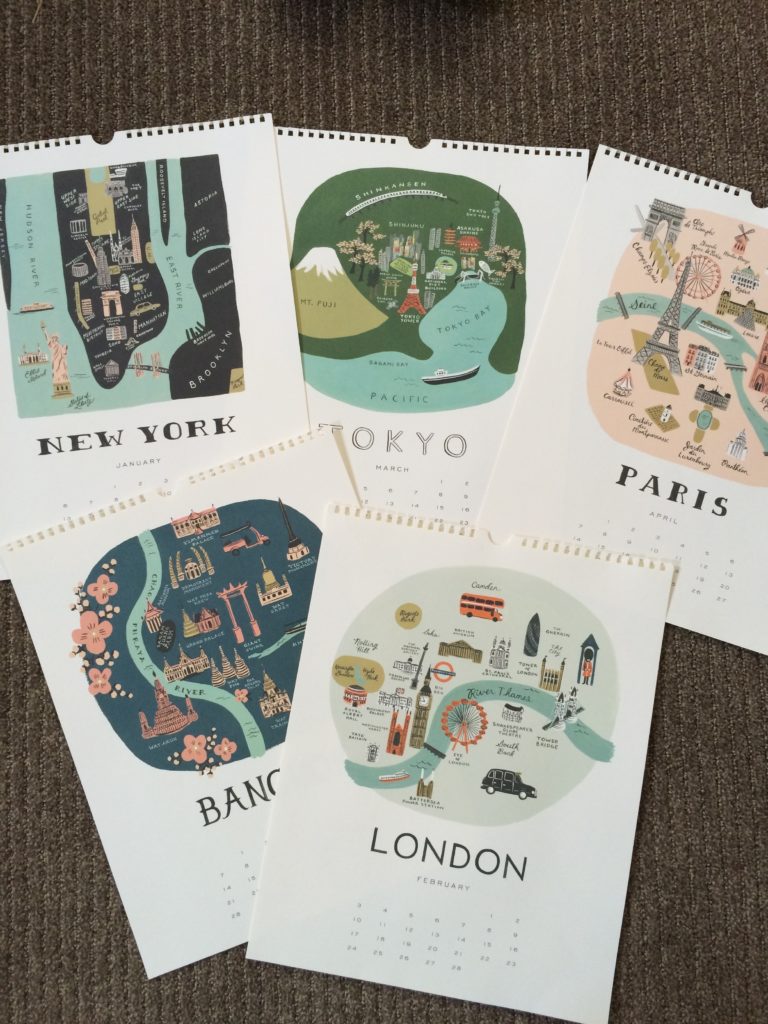
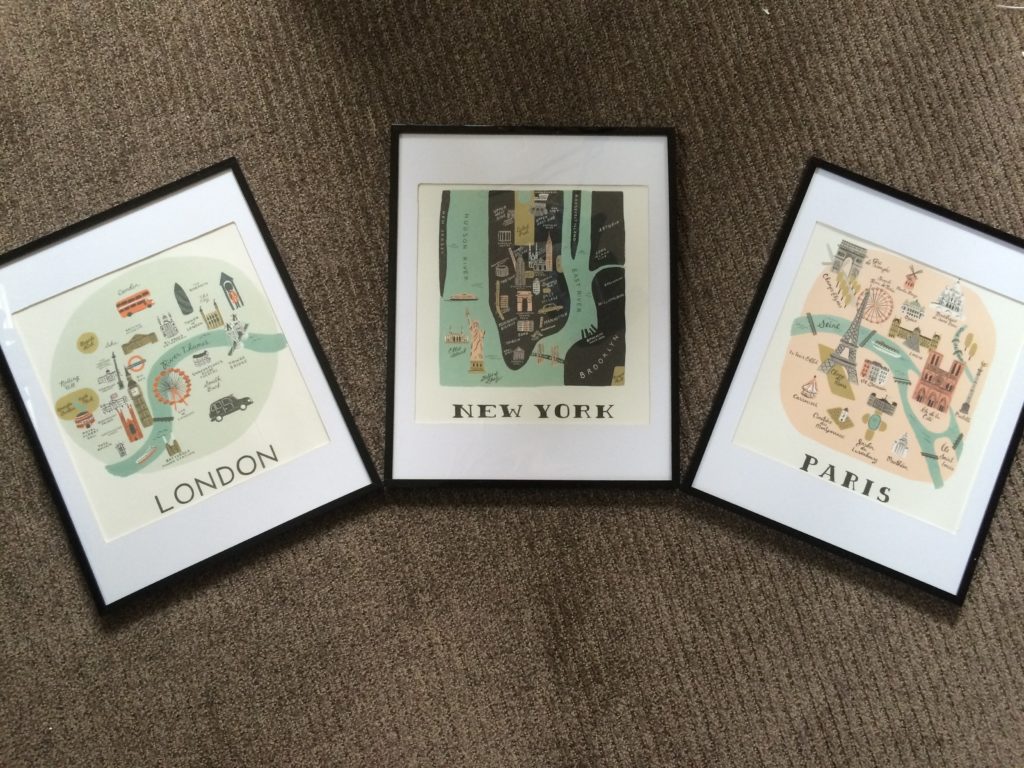
I picked my fav cities and torn them out of the calendar.
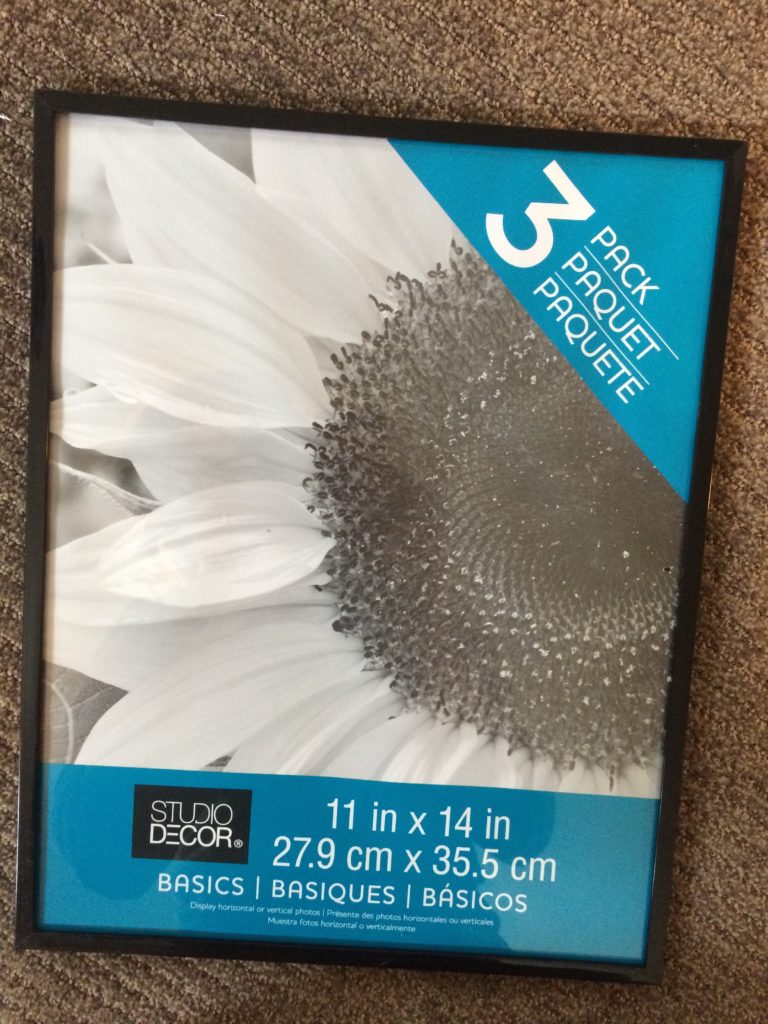
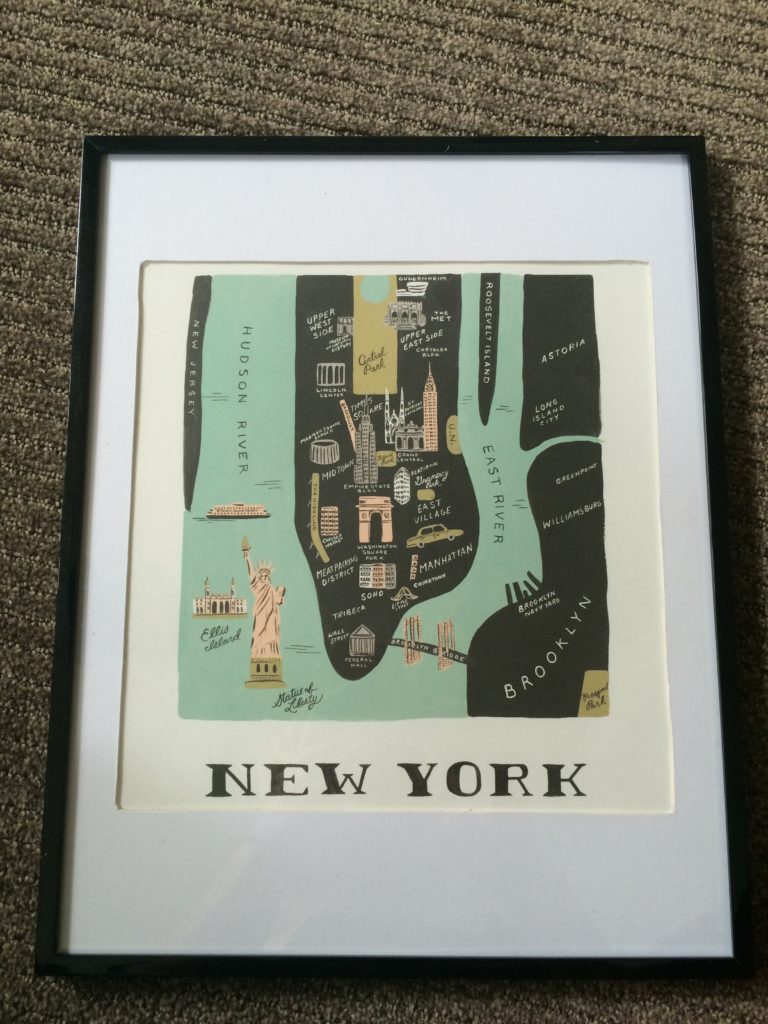
I wanted to use a 11×14 frame size with a mat. Knowing that I wanted a gallery wall of at least 8 pictures, I wanted to spend as little as possible on my supplies for this project. I ended up finding this pack of three frames from Michael’s for just under $20. AND, Michael’s almost always has some sort of coupon, so I got each pack for 40% off! Score!!! More money saved! I bought three, knowing I would have one frame left over, but I also had another print I wanted to frame, so it worked out perfect!
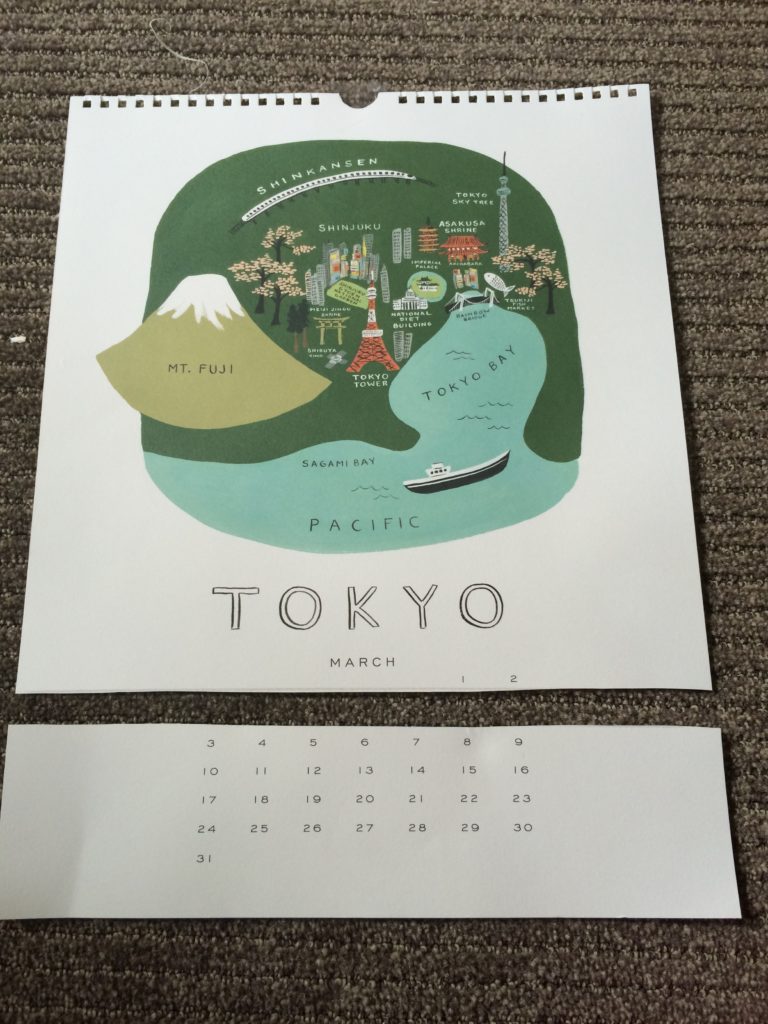
In order for the picture to set in the center of the frame, I had to cut the bottom of the calendar page off.
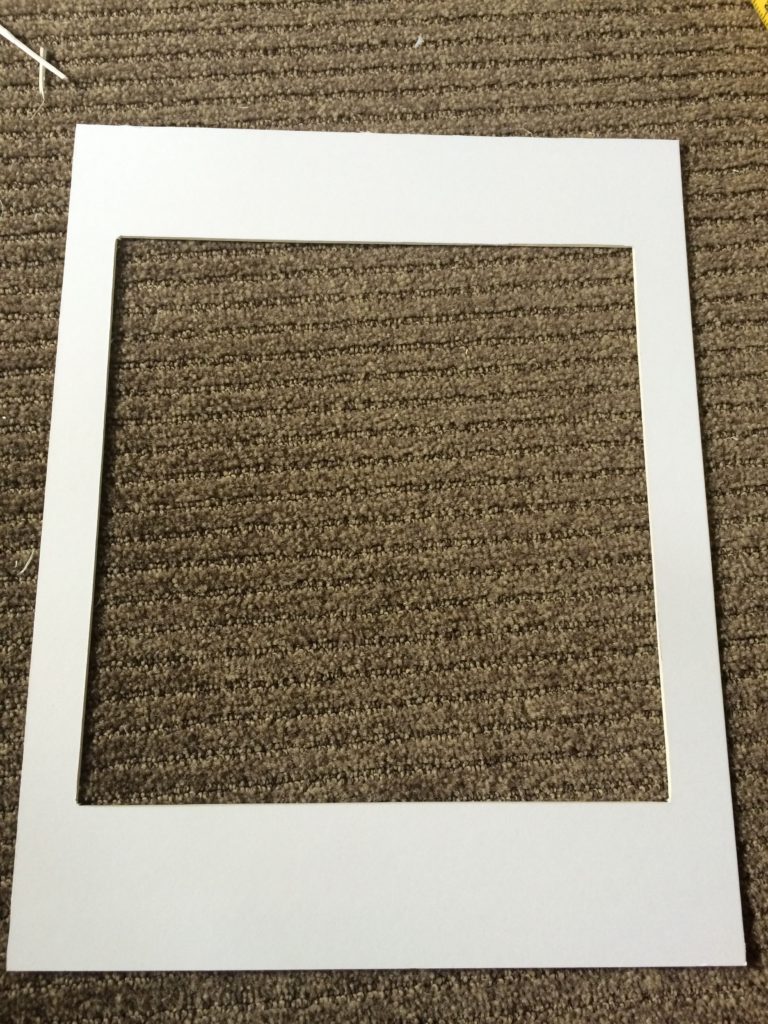
Naturally, I couldn’t find a pre-cut mat that worked with my pictures, so I had to make one. Keep in mind that I am not a professional at matting pictures, but I think for my first attempt at this, it turned out pretty nice. 😉
I found the largest sheet of matting paper Michael’s had to offer, so that I could cut multiple pieces since I had eight pictures to do. That was the most cost effective route for me to take, instead of buying eight 11×14 size mats.
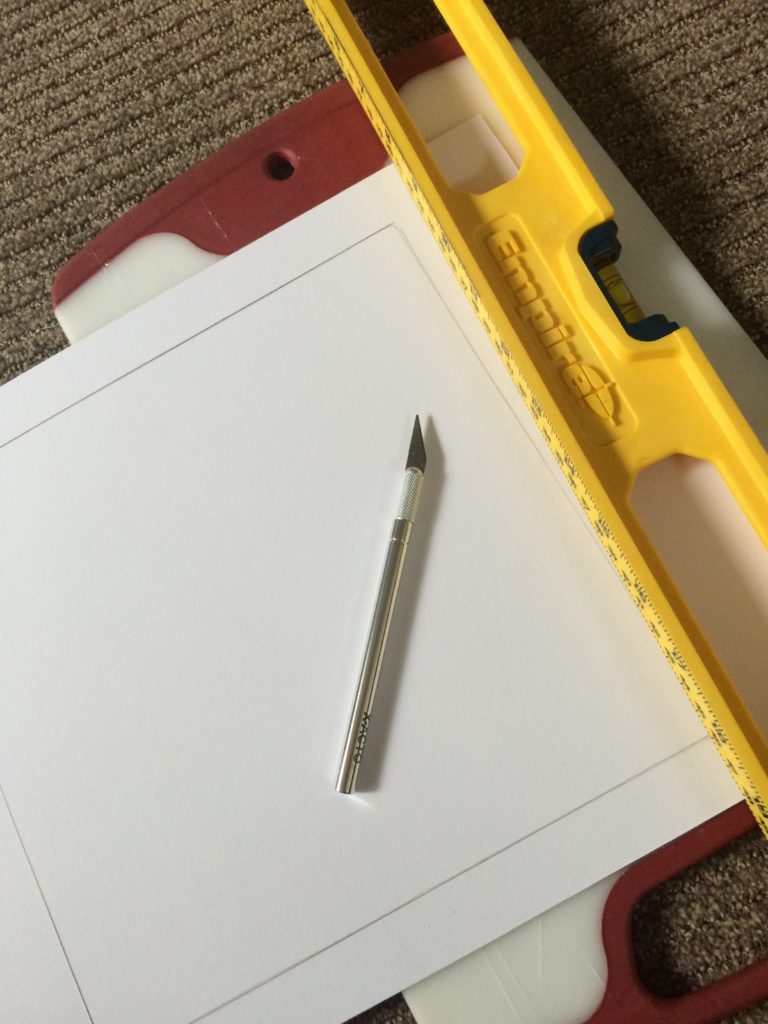
I took a mat from another 11×14 frame with a picture size of an 8×10 and traced it onto a section of the matting paper. I also traced the inner 8×10 section as well knowing that I would have to adjust it accordingly since my pictures are bigger than 8×10. By doing so, I at least had a starting point to reference.
I used an X-Acto knife and the ruler side of my level to cut a nice straight line. You can try it without using some sort of straight edge, but trust me, it won’t be nearly as straight. I made that mistake with my first cut. Scissors also don’t work as well as an X-Acto knife.
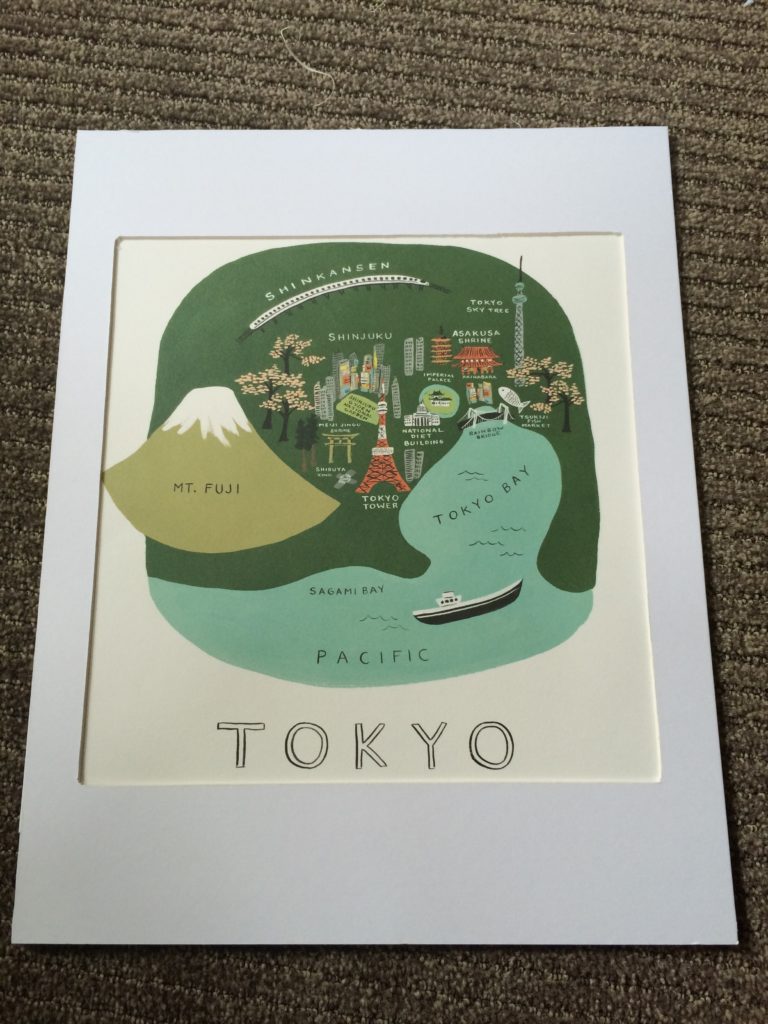
After you have cut out your mat, frame it up with your picture, so that you know what adjustments to make. I ended cutting the sides a little wider in order to see the entire picture. After I cut my first mat the way I wanted, I then used that one as a stencil for the other seven I wanted to do.
Once the mat is cut to your liking, I recommend taping the picture to the back of your mat. This way it doesn’t move once you put it in the frame.
Stick that bad boy in the frame and DONE!
WAIT!!!!!
We aren’t finished yet!
Now it’s time to hang the pictures.
Obviously I wanted the pictures to hang an equal distance apart for one another. Considering we just moved, I had some left over packing paper lying around, so I used that to make a diagram.
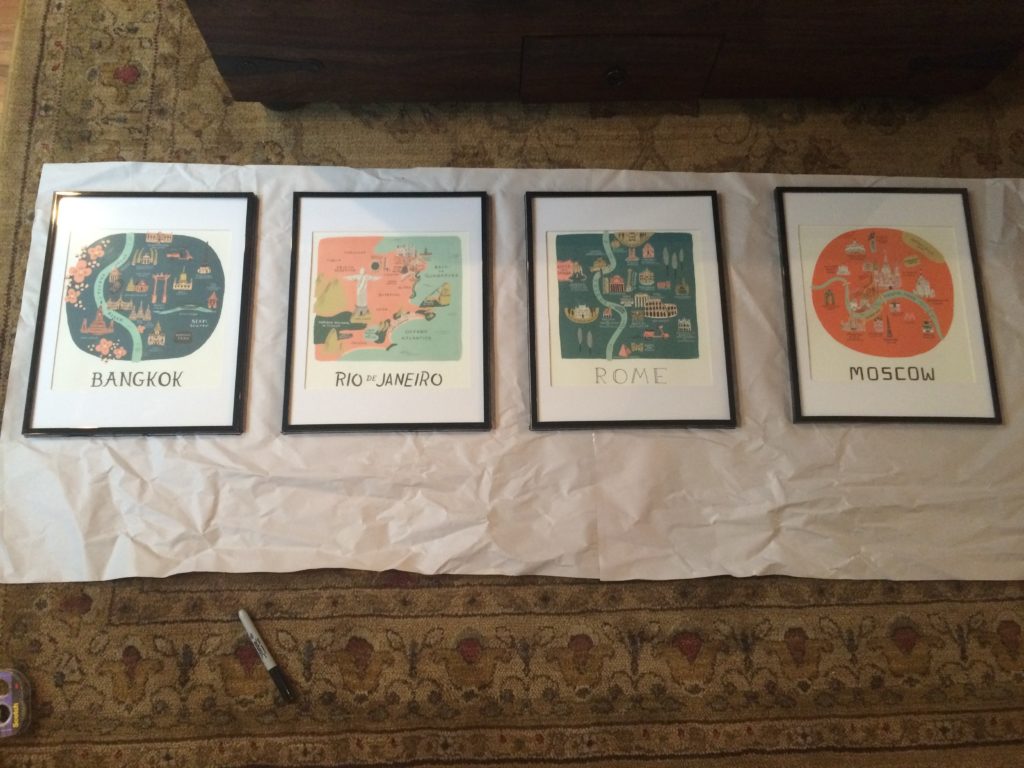
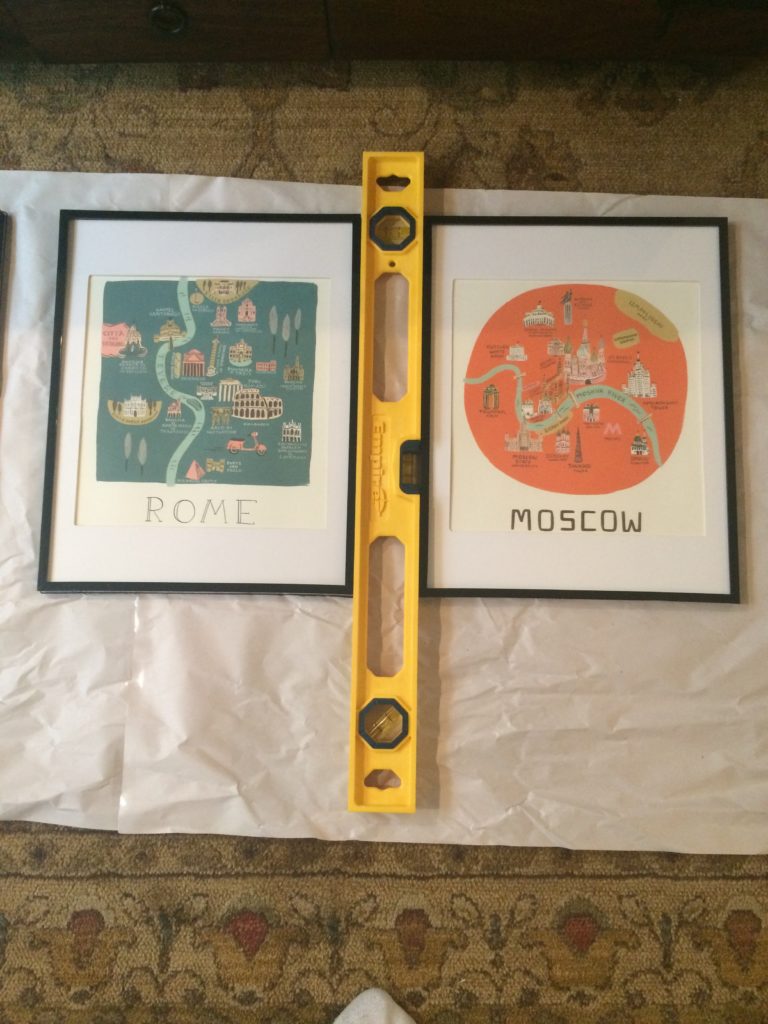
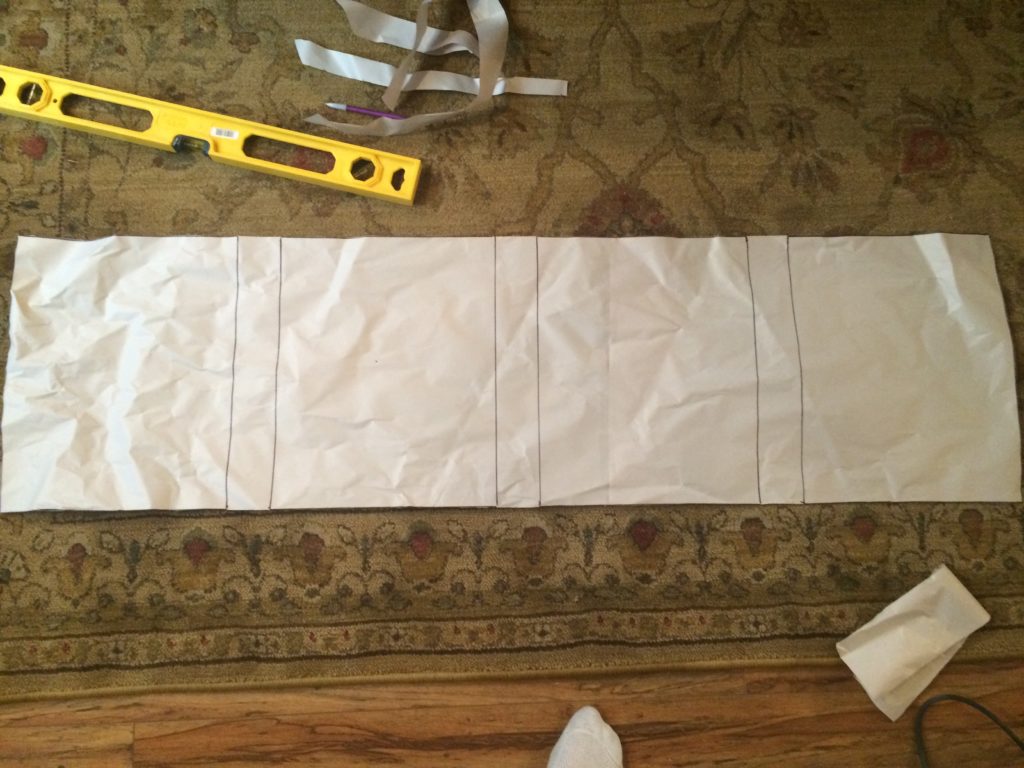
I wanted the gallery to be two rows of four, so I laid four pictures out horizontally on my paper. I found that using the width of my level put each picture about 2.5 inches apart, which is what I wanted, so I just used that to help me space them evenly.
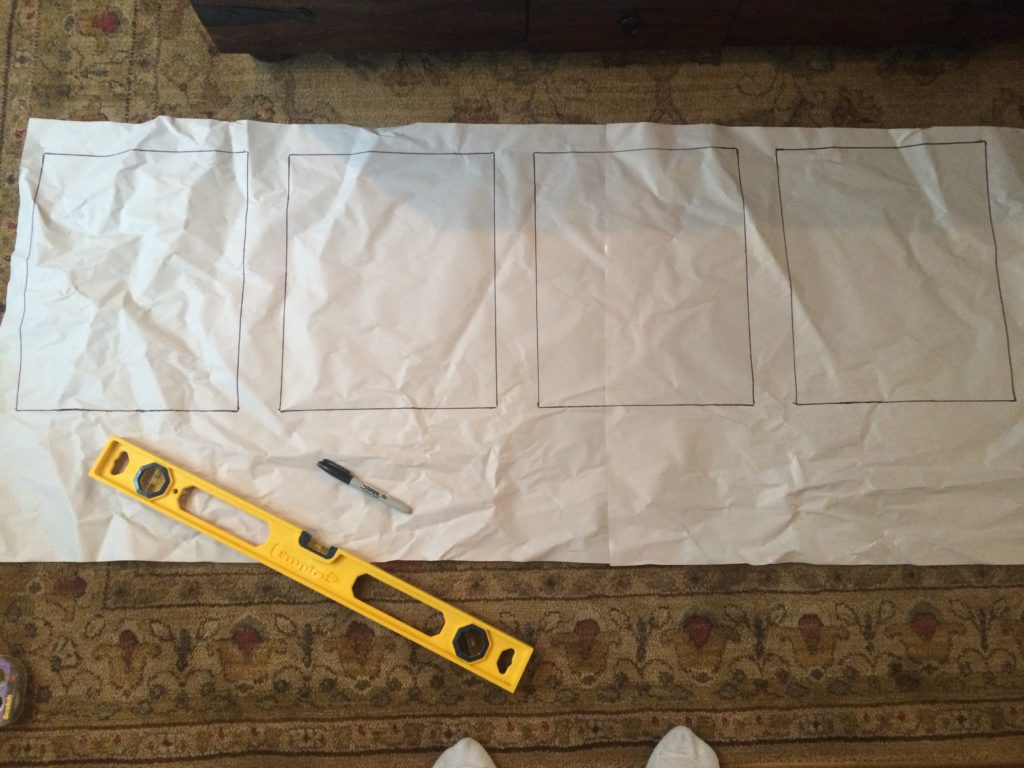
Once they were space evenly, I used a Sharpie to trace an outline of each frame.
I then cut off the excess paper on top and bottom. (Sorry, my feet keep showing up in these pictures.)
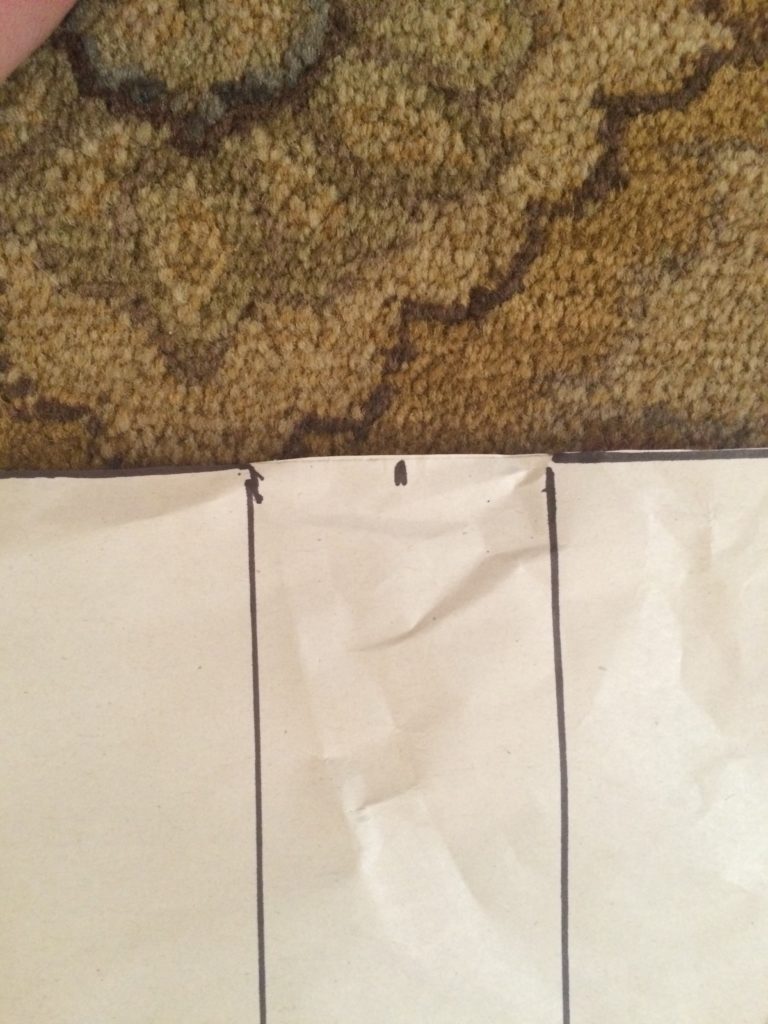
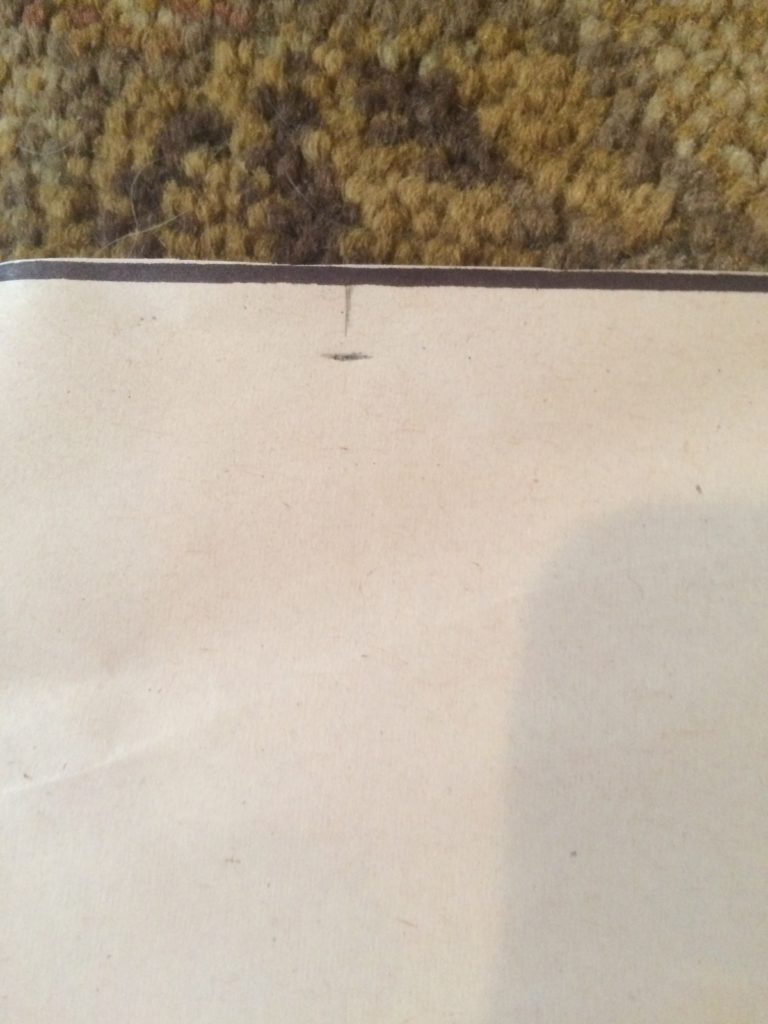
Next, I marked the very center of the whole piece AND the center of each picture outline. I also drew crosshairs on each picture outline to show where the nail would go once on the wall. An extra step, but it made the nailing process so much easier in the end.
Center of diagram Center of picture outline
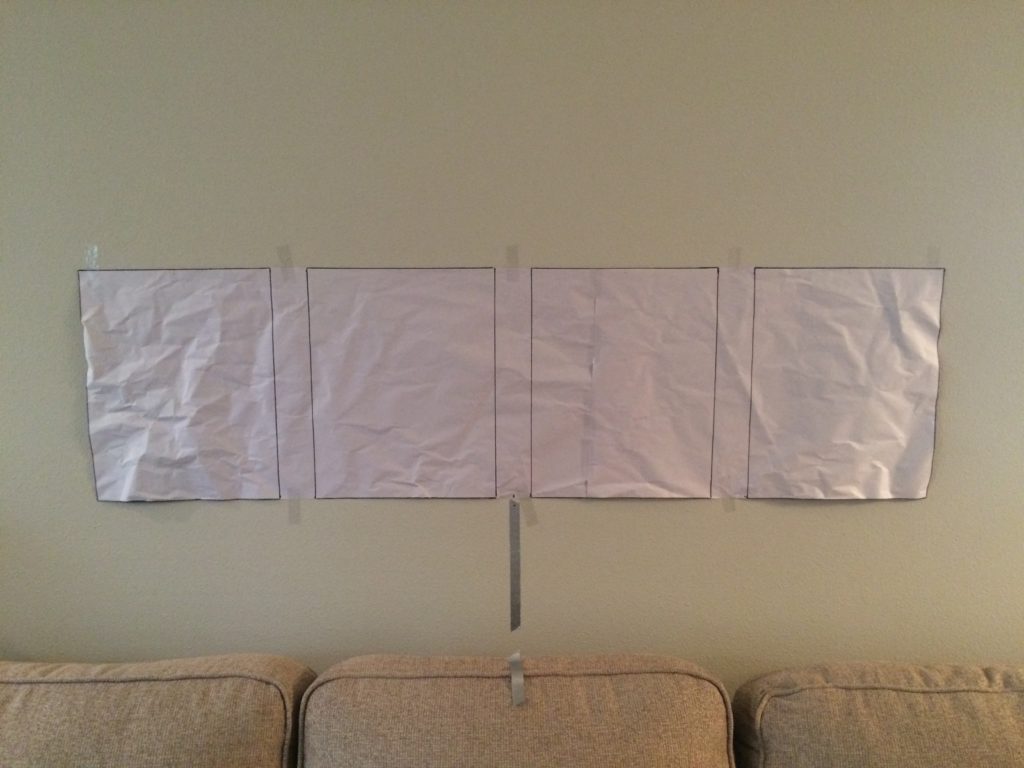
After I marked all the center points on the paper, I taped it on the wall, making sure to line it up with the center point I marked on the wall with tape. The silver tape represents not only the center point on my couch, but also how high I wanted the pictures to be from the top of my couch. Usually, 5-10 inches is a good rule of thumb. I went with 8 inches.
Next, using the center of the crosshairs I marked on each picture outline, I used a nail to pierce a small hole through the paper, making an indention into the wall. I did that for all four picture outlines. After I took the paper off the wall, I used those indentions as marks for the nails.
I hung four pictures for the bottom row, then I used the paper to align my top row. I repeated the same steps for marking where the nails would go. Once all the pictures where on the wall, I used my level to make sure they were, well… level. 🙂
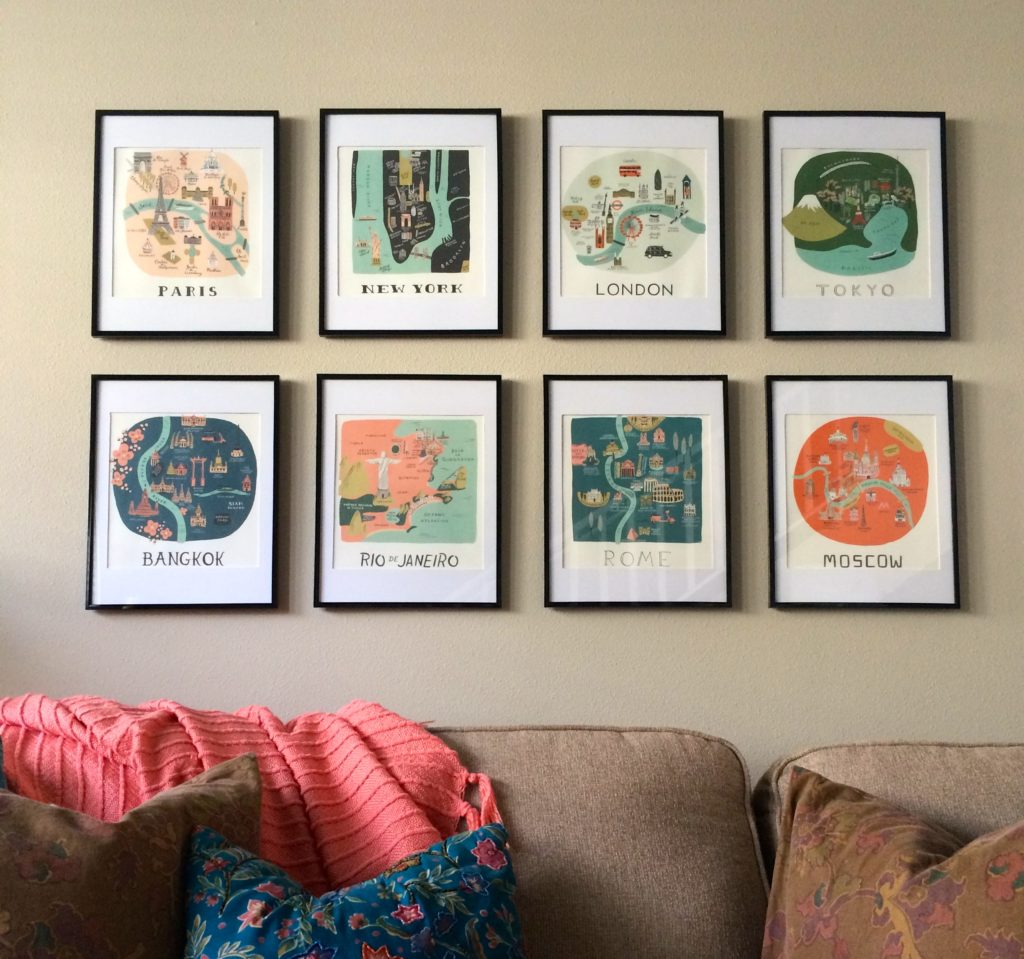
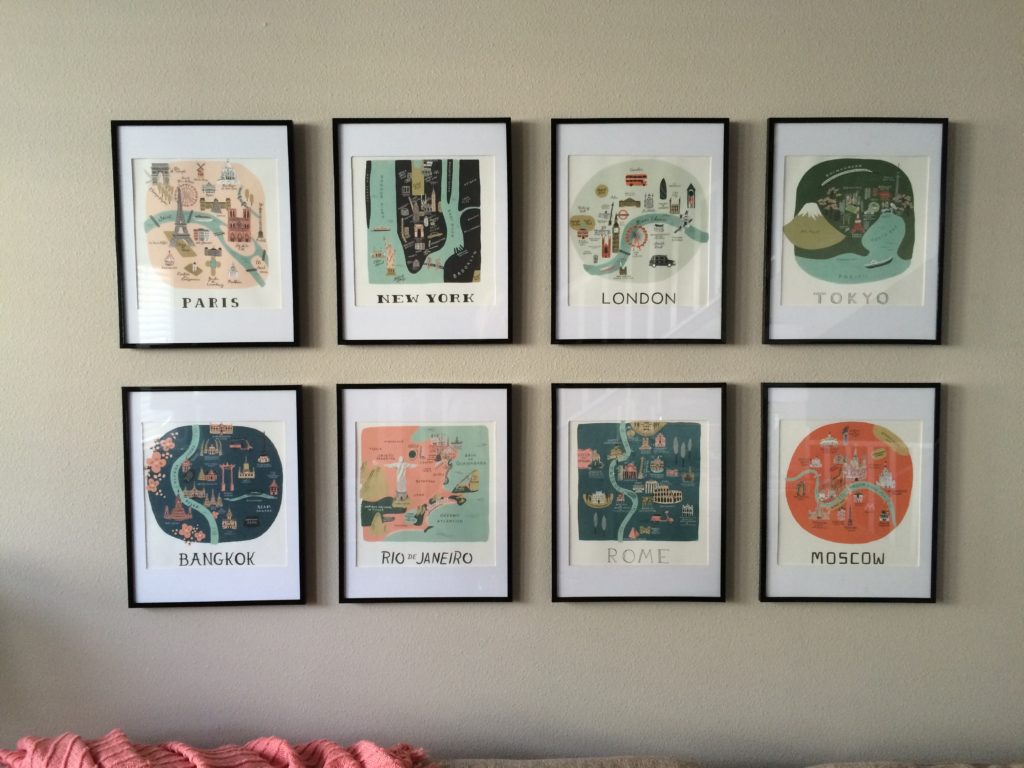
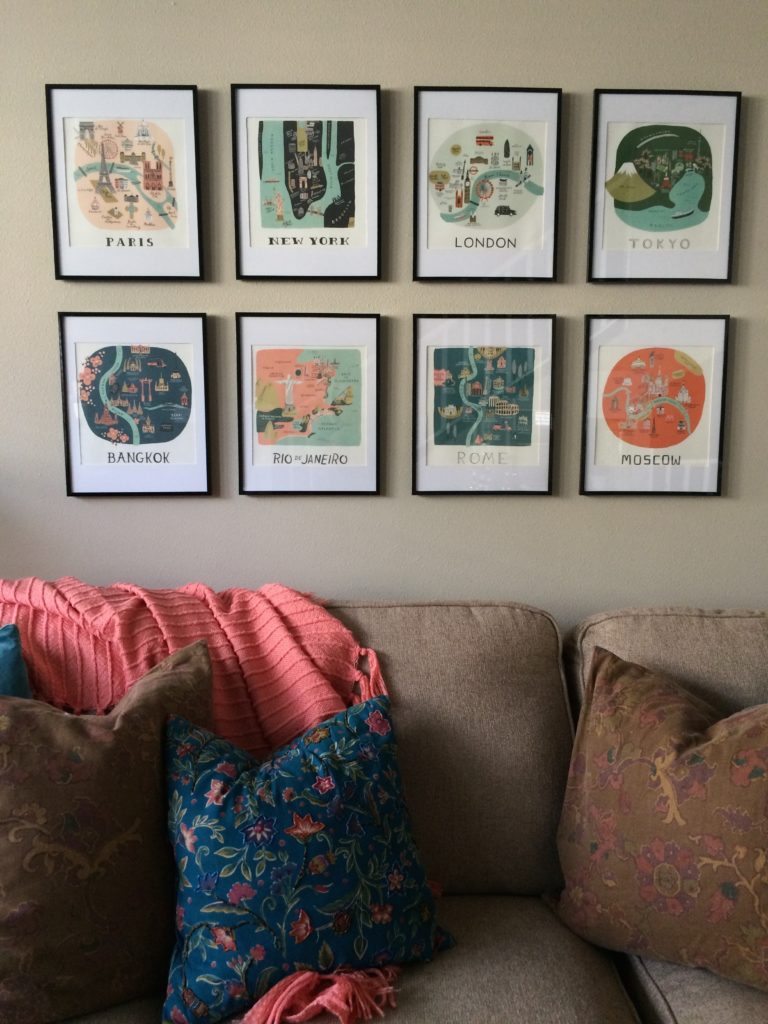
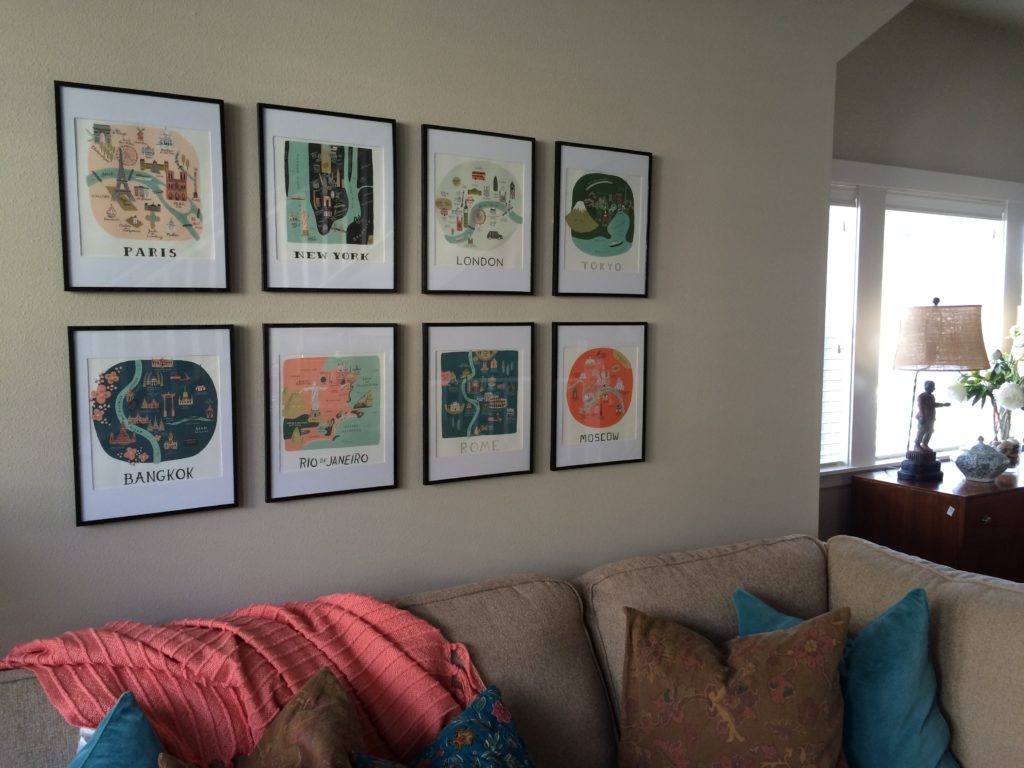
Here’s the finished product! I’m not going to lie, there was quite a bit of pre-work that needed to happen before I just slapped the pictures up on the wall, but in the end I think it made the result really great! It also saved my walls from having 5 billion nail holes while I try to get the spacing right.
I also have four more pictures from the calendar left. I may just have to frame those and add a third row on top! As for right now… on to the next project!
Thanks for stopping by! Hopefully this has inspired you to try making your own gallery wall!
Much love,
Megan
Calendar: Rifle Paper Co. (Mine is from 2013, but the new ones are BEAUTIFUL!)
Frames: Michael’s
Mat: Michael’s



2 comments
bookmarked!!, I really like your web site! http://yahoo.org
Thank you !